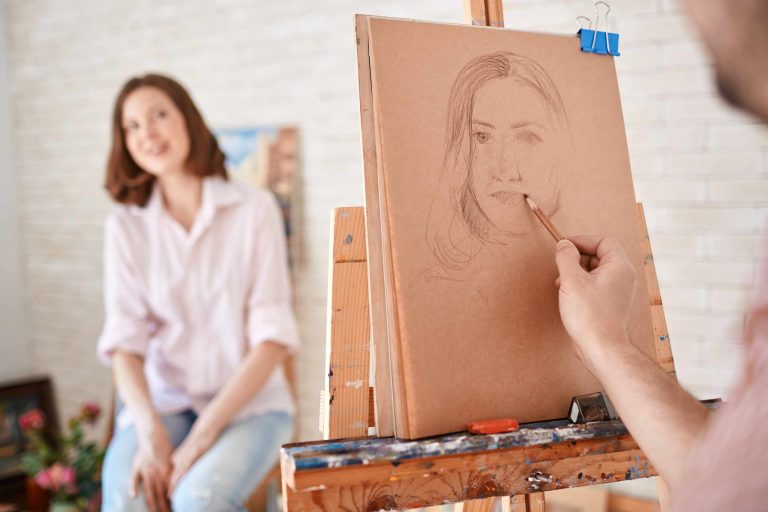
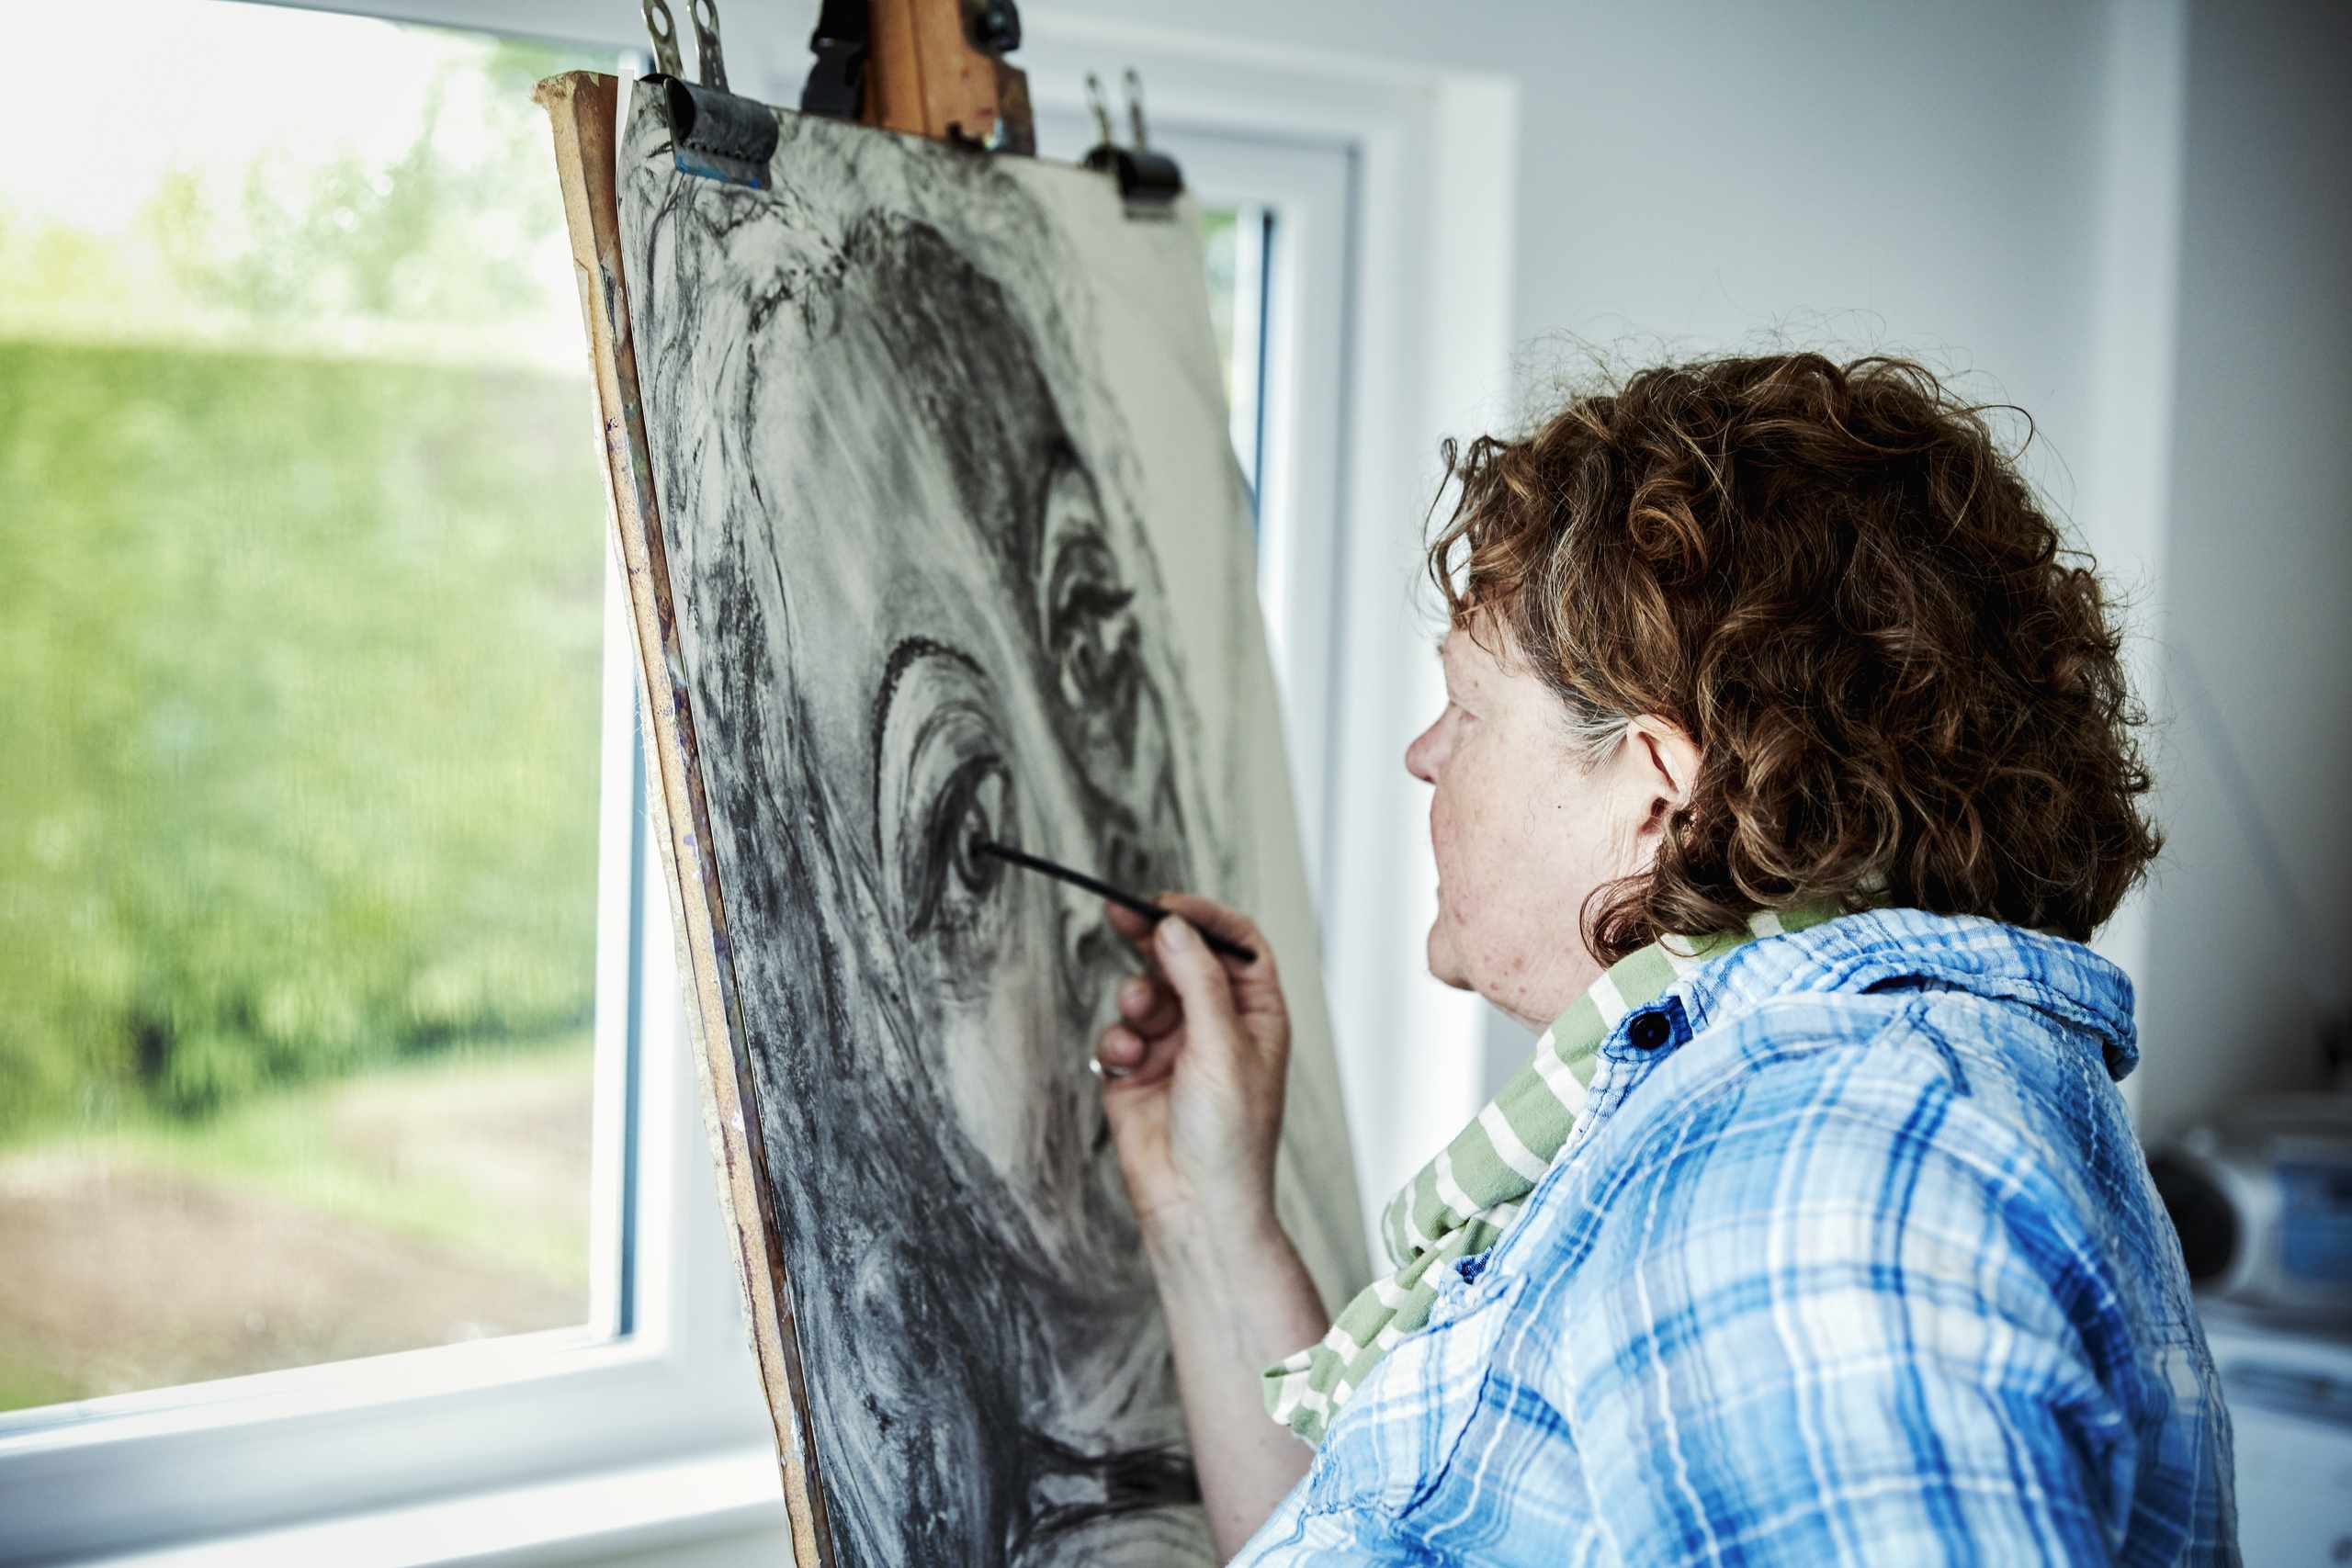
When you begin a portrait, start by copying the photo and wait several minutes before attempting to draw the eyes, nose, or mouth.
Make a very light “block-in” of the head, marking the top of the skull, the chin, the widest part of the face, and the general direction of the center line. This simple step turns the work of “drawing a face” into the work of comparing a few large shapes. Proportion errors are easier to spot and correct when there are no details to complicate the picture.
Your first step should be to compare the head’s height and width. Is the head long, wide, narrow around the jaw, or wide around the cheekbones? Rather than trying to draw the head you think a person should have, compare the proportions in your drawing with the proportions in the reference photo.
Hold your pencil at arm’s length to estimate distances and angles. You don’t need exact measurements—just enough to make it possible to compare two parts of the reference with each other.
Then establish a center line for the head, following the direction of the face. In a frontal view, the center line will look almost vertical. On a tilted or turned head, the center line will angle accordingly. Then draw an eye line, and check that the angle matches the reference photo. You now have two construction lines to help you position all of the facial features. Remember: if the head is tilted but the eye line is level, your drawing is already off, even before you’ve added any eyes.
A common mistake with beginners is that they get the facial features right, but the head itself is out of proportion. Perhaps the eye looks like the reference, but the head is too narrow. Maybe you drew the mouth correctly, but the chin is too high or too low. This usually occurs because you pay attention to smaller, familiar details before finishing the larger shape.
Stop what you’re doing, put down the pencil, and take a good look at the proportions. Measure the distance from the top of the head to the brow, from the brow to the nose, from the nose to the chin, and from the center line to each side of the face. These are proportions to compare, not rules to follow.
Don’t forget about negative space! Look at the spaces surrounding the head, particularly on the sides of the jaw, cheeks, hair, and neck. If the area between the side of the cheek and the edge of your block-in doesn’t correspond to the area in the reference, you may need to adjust the jawline or head position.
Step away from your drawing to compare the sizes of spaces and the angles between them. Turning your drawing upside down or sideways can help reveal distortions, such as an overly wide jaw, a shorter forehead, or a center line that is off-center.
Once you have established the larger shapes, you can begin to add details to the face. Keep the marks light so that you can move them without ruining the drawing. Move an eye line or adjust the width of the jaw as needed.
Ask yourself before making any dark marks: does the head have the correct shape? Does the center line follow the face? Do the major landmarks seem to be in the right positions relative to each other? If you hesitate at any of those questions, that’s where you should check your drawing before adding eyelashes, pupils, lips, or hair.