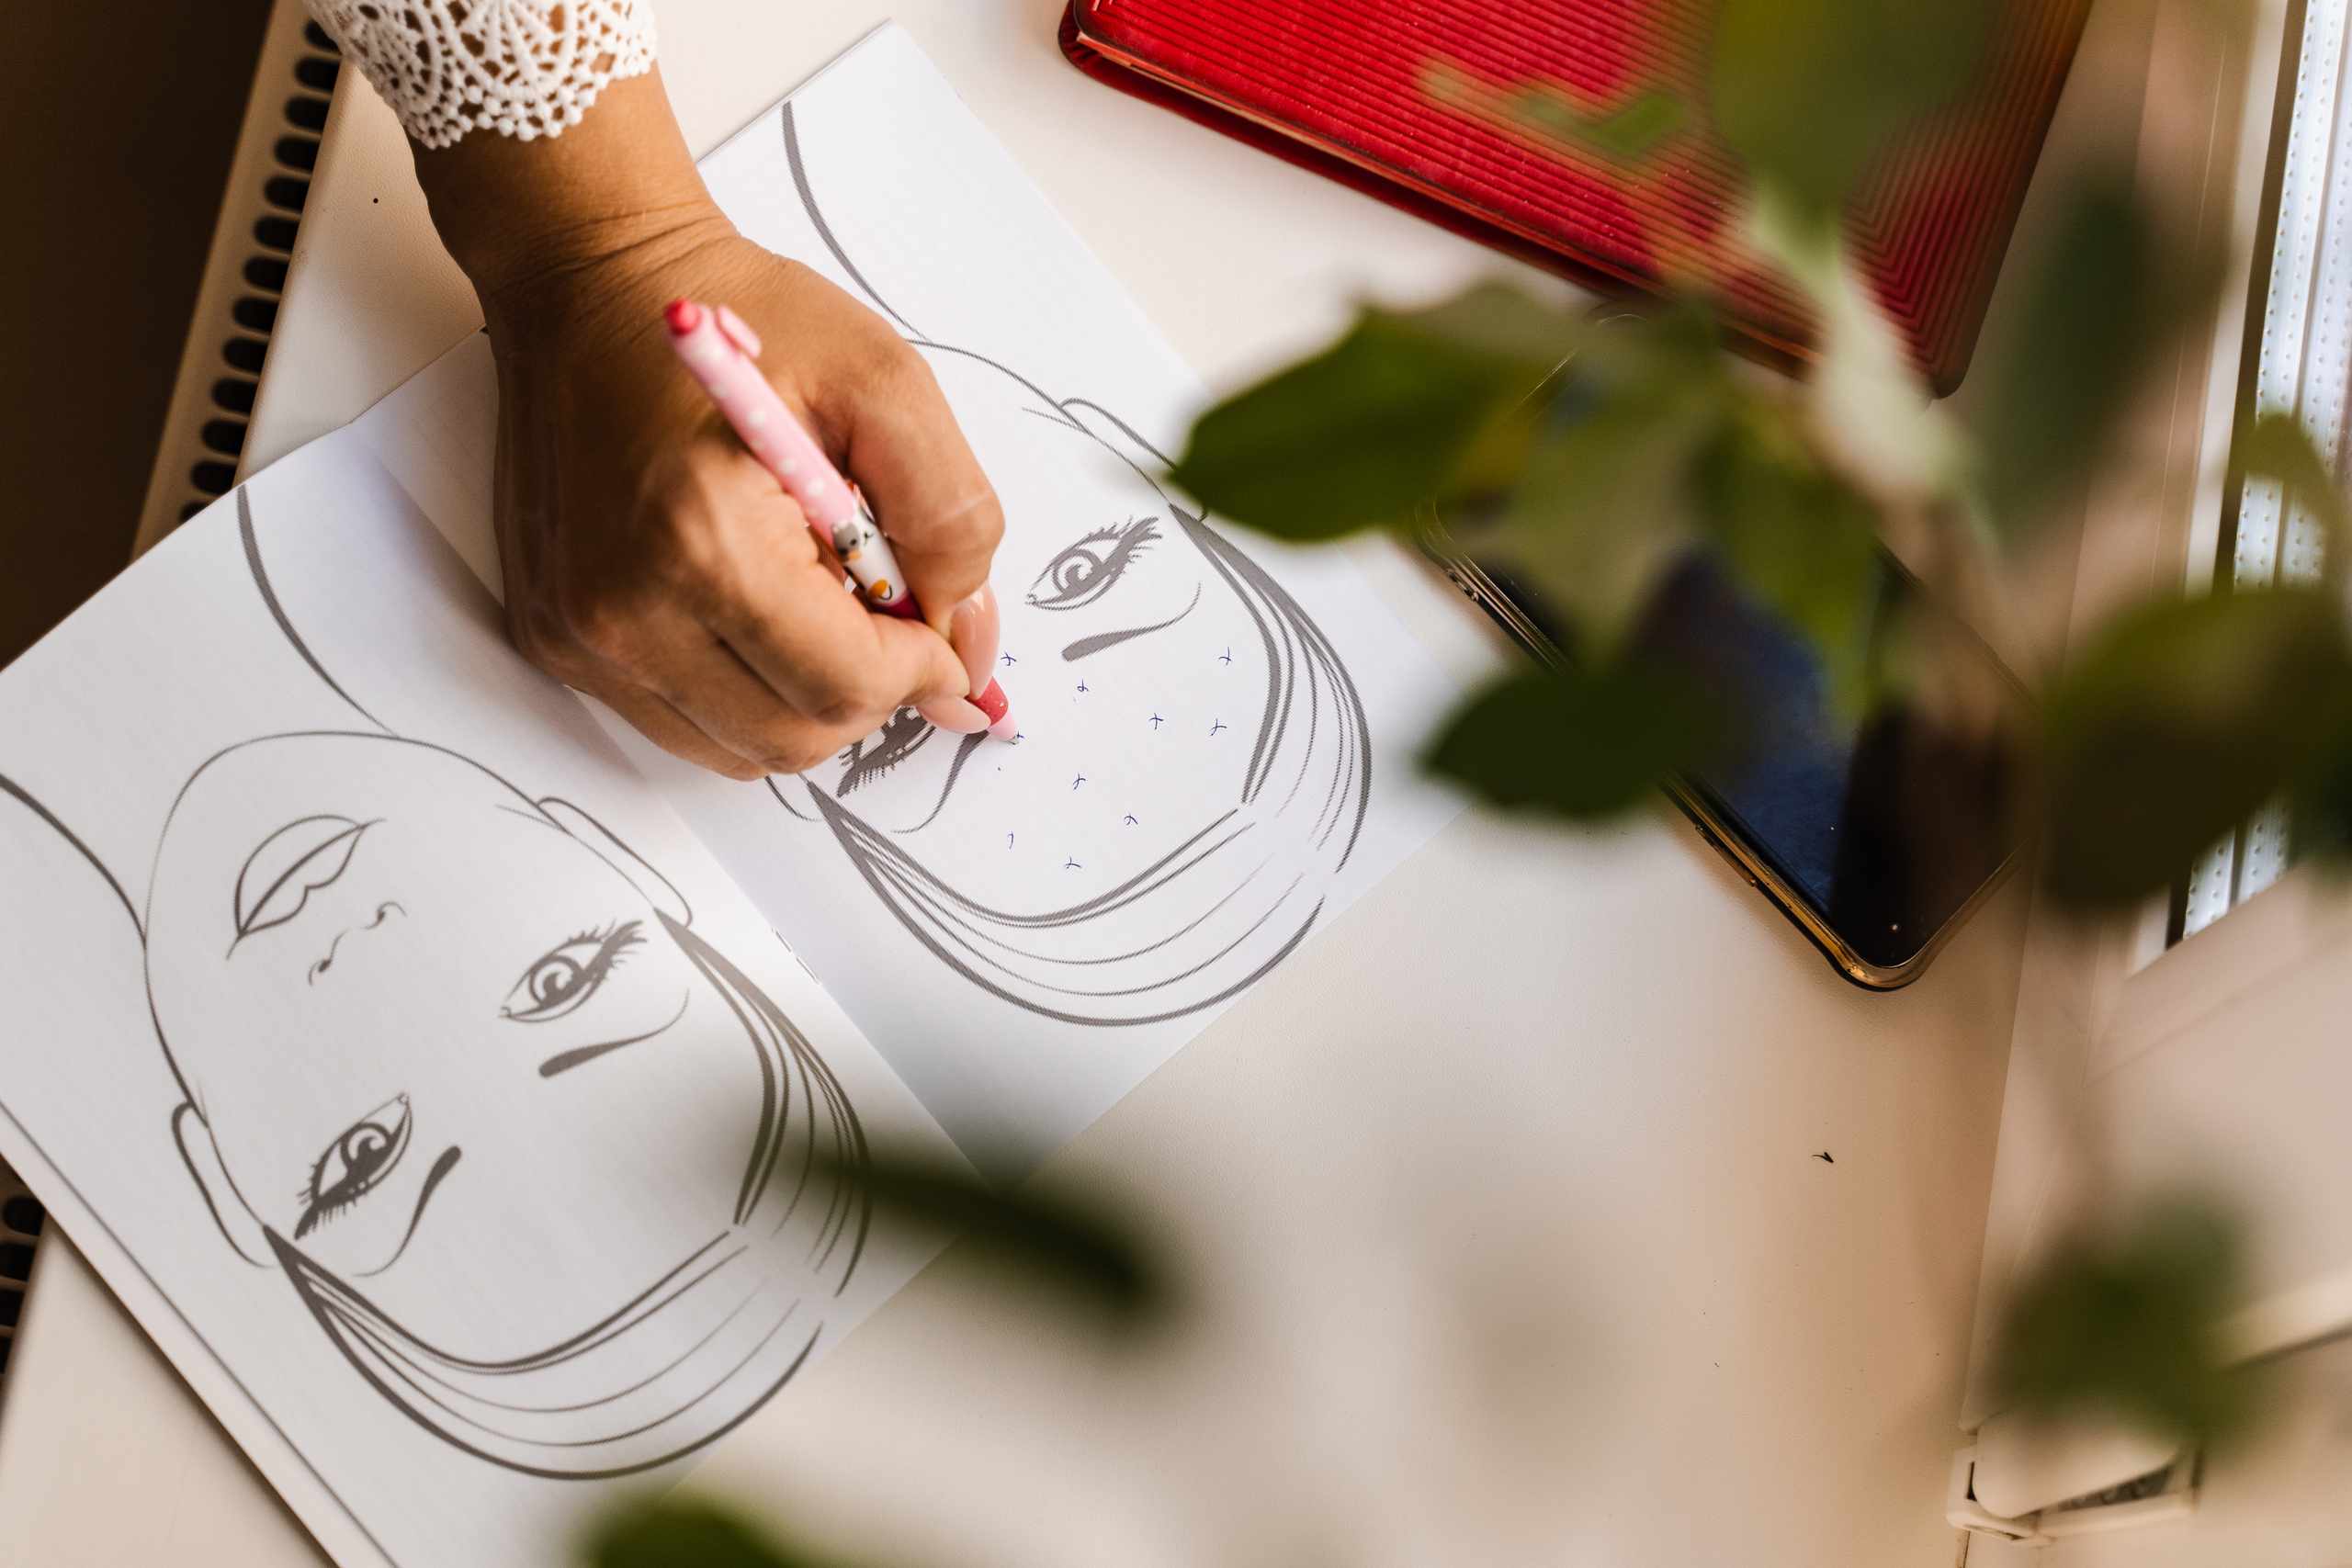
This is one reason why beginner portraits often end up with eyes too high. You can draw each eye beautifully, and yet still have an image that looks odd or oddly elongated. It’s probably not the eye itself that is the issue but its location on the head.
When we visualize a face in our minds, we usually think of the eyes, nose, and mouth, and we rarely spend a lot of time thinking of the forehead and crown of the head. That’s where the eyes get placed too close to the top of the head, which results in shifting all of the features down and crowding the bottom half of the face.
The first thing to do before drawing the eyes is to look at the whole head, not just the visible face. You can sketch in the top of the skull, jawline, chin, and overall width of the head lightly. Then compare the space between the top of the head and the eye line with the space between the eye line and the bottom of the chin. In most basic views, the eyes actually sit more toward the center of the total height of the head than beginners expect. This is definitely not a hard-and-fast rule to follow, but it can be a helpful tip if you keep finding your eye line too high.
It can get confusing because of the hair. The hair might extend above the skull, or you might have a hairline that reveals more forehead. If you measure from the top of the hair instead of estimating the head underneath, the proportions will be skewed. Think of the head under the hair. Lightly sketch the oval of the skull, mark the center line, and then draw the hair over it. It will help you distinguish the head shape from the hair style.
One good practice is to use a good reference photo and wait to draw the eyes. Sketch the outline of the head, the center line, the eye line, brow area, bottom of the nose, and the chin, and stop. Measure the distances, especially the amount of forehead above the eye line compared to the space below it. You can also note the width of the head at the eye level and the angle of the jawline. If all those measurements look right, then draw the eyes simply without worrying about details like the eyelashes, pupils, and highlights.
Be sure to use light pencil pressure during this process. If your initial eye line, center line, and other feature marks are dark, you’ll be reluctant to move any features once you realize they’re off. The initial eye line and center line and other marks should be light enough to erase or shift. If the eyes look too high, adjust the entire eye line instead of trying to fix it by stretching out the nose or lowering the mouth. Trying to correct one wrong proportion by changing another usually leads to further inaccuracies. Always correct the biggest mistake first.
Another great way to check is to step back and look at your drawing, or look at it reduced in size. When you’re up close to the paper, it’s easy to fall into the trap of thinking everything looks right even though the overall head is off. When you view the drawing from a distance, you’ll be able to see a larger forehead, a compressed lower face, or the eye line too high. Look at the space around the head, too. If the head looks too short above the eyes, the space will look different.
None of this means there is one exact spot to place the eyes. Changes in head angle, hair style, and facial features can alter your perception. What you want to do is start getting used to measuring the eye line in relation to the entire head. Once you’ve established the head shape, center line, and major proportions, then placing the eyes will be a lot simpler.